Tuesday, 3 July 2012

Netbeans Ide installation Steps in Centos 6

Step by Step Netbeans 6.9 Installation in CentOS 5.5:

http://nbabusyahid.wordpress.com/2010/06/25/step-by-step-netbeans-6-9-installation-in-centos-5-5/

NetBeans 7.1.2 on Fedora 17/16, CentOS/RHEL 6.2/5.7:

Netbeans Logo boxNetBeans 7.1.2 is released and this is guide with screenshots, howto install NetBeans 7.1.2 on Fedora 17/16/15/14/13/12, CentOS 6.2/6.1/6/5.7 and Red Hat (RHEL) 6.2/6.1/6/5.7.

What is NetBeans?

The NetBeans IDE (integrated development environment) is available for Windows, Mac, Linux, and Solaris. The NetBeans project consists of an open-source IDE and an application platform that enable developers to rapidly create web, enterprise, desktop, and mobile applications using the Java platform, as well as JavaFX, PHP, JavaScript and Ajax, Ruby and Ruby on Rails, Groovy and Grails, and C/C++.

Whats New on NetBeans 7.1 (7.1.2)?

  • JavaFX 2.0.2 SDK support
  • Batch refactoring tool for bulk changes in Java Editor
  • New UI Debugger for JavaFX and Swing
  • Support for GlassFish 3.1.1 and WebLogic 12c
  • Improved support for CDI, EJB, JSF, Spring, Web Services
  • Subversion and Mercurial enhancements and bundled Git support
  • Maven enhancements
  • PHP enhancements

Install NetBeans 7.1.2 on Fedora 17/16, CentOS 6.2/5.7, Red Hat (RHEL) 6.2/5.7

1. Install Sun’s Java

I recommend to install Sun’s Java, because I think NetBeans works faster with Sun’s Java. Here is the guide, howto install Sun/Oracle Java JDK 7 on Fedora, CentOS, Red Hat (RHEL). OpenJDK should also work. check with below url:

http://www.if-not-true-then-false.com/2010/install-sun-oracle-java-jdk-jre-7-on-fedora-centos-red-hat-rhel/
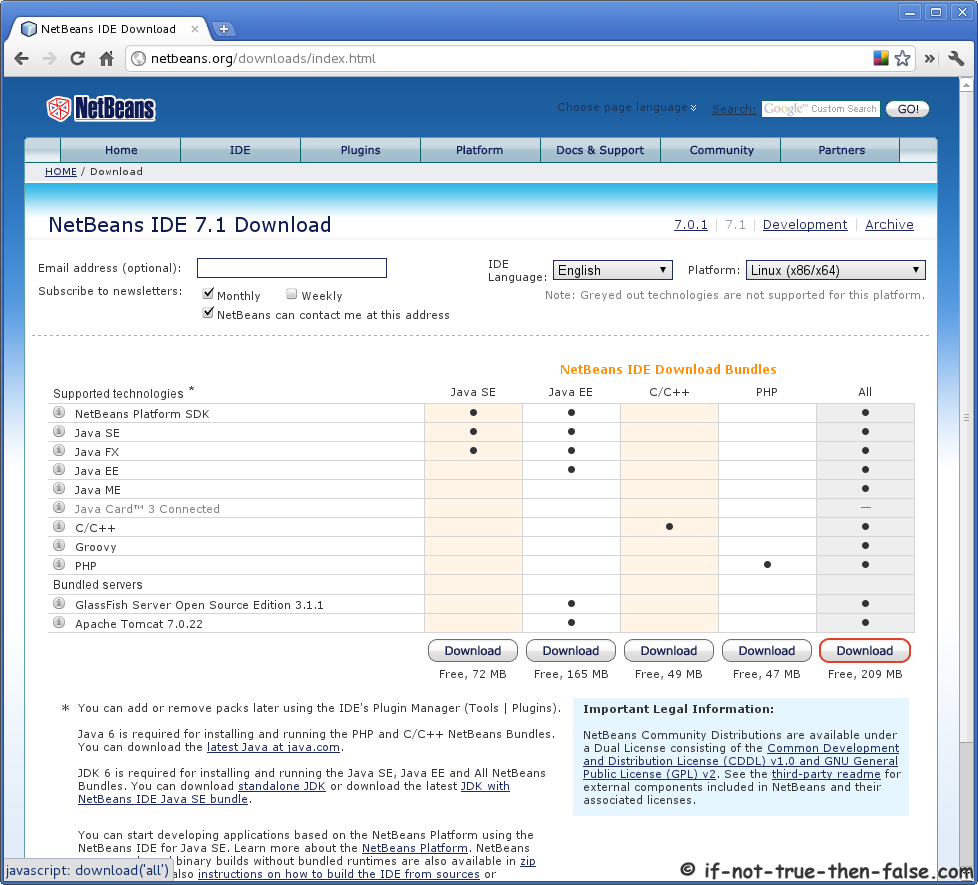
Download NetBeans 7.1

2. Download NetBeans 7.1.2


Select best suitable version or select whole package.

3. Change to root

su -
## OR ##
sudo -i

4. Make package executable

NetBeans 7.1.2
chmod +x netbeans-7.1.2-ml-linux.sh

4. Run installer (as root)

NetBeans 7.1.2
./netbeans-7.1.2-ml-linux.sh

5. NetBeans IDE Welcome Screen
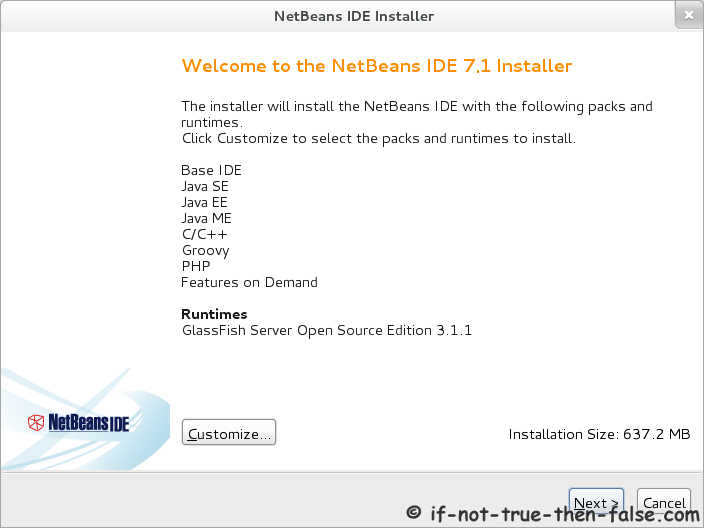
Netbeans 7.1 Welcome screen
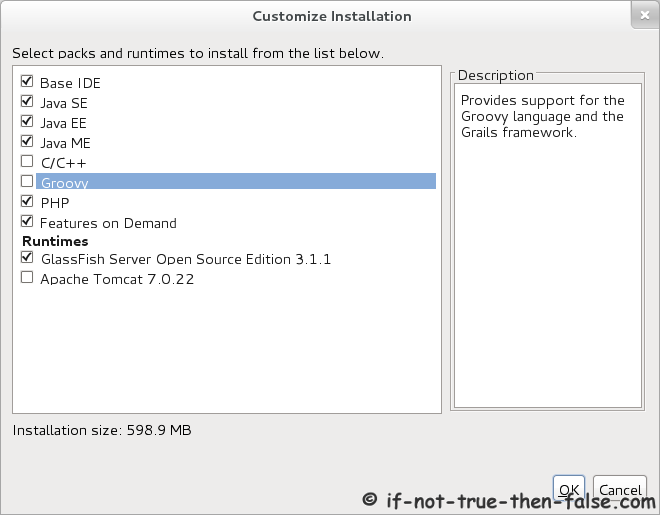
With full package is possible customize module selection, with clicking customize button:
Netbeans 7.1 Customize installation

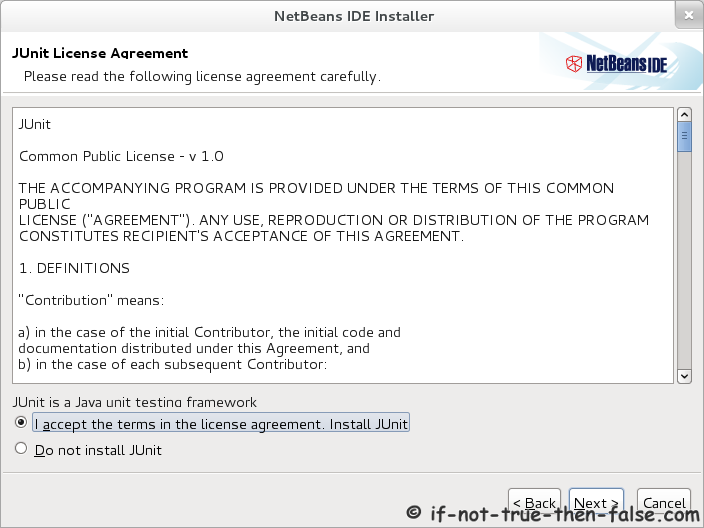
6. Accept NetBeans Licenses

Netbeans 7.1 Accept license agreement
Netbeans 7.1 Accept junit license agreement

7. Choose a NetBeans Installation Directory and JDK version
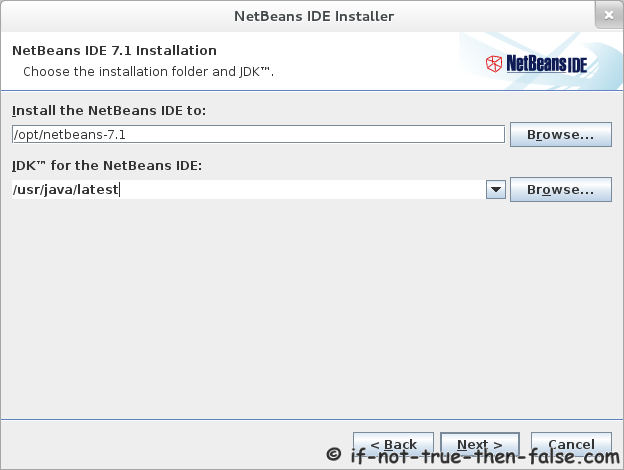
Netbeans 7.1 Choose installation directory and JDK version
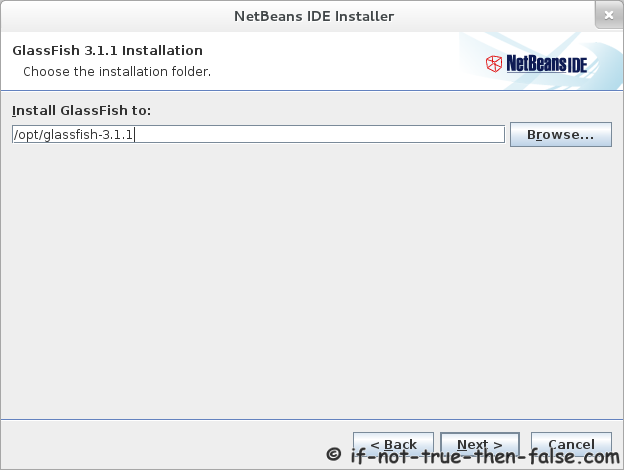
If GlassFish Application Server is also selected to Installation then select Directory also for GlassFish:
Netbeans 7.1 Select GlassFish installation location

8. Check NetBeans Installation Summary
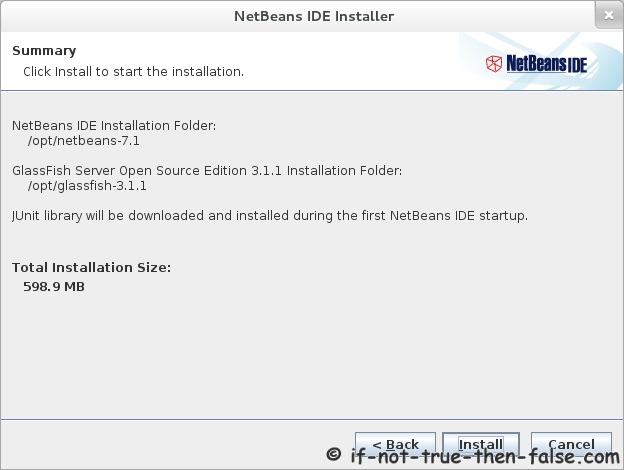
NetBeans 7.1 Installation Summary

9. Installing NetBeans IDE

Installing NetBeans 7.1 IDE

10. NetBeans IDE Installation Complete
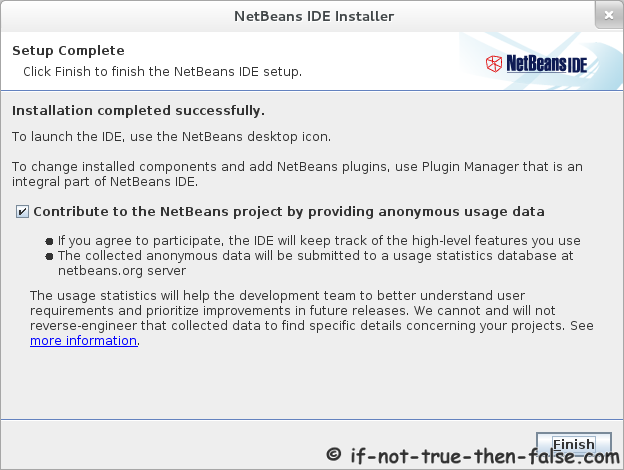
Netbeans 7.1 Installation complete

11. Start NetBeans 7.1.2 IDE

/path/to/netbeans-7.1.2/bin/netbeans
 
## Example ##
/opt/netbeans-7.1.2/bin/netbeans
 
Or Start NetBeans with using desktop launcher.

12. NetBeans 7.1 IDE running on Fedora 16 (Screenshot)
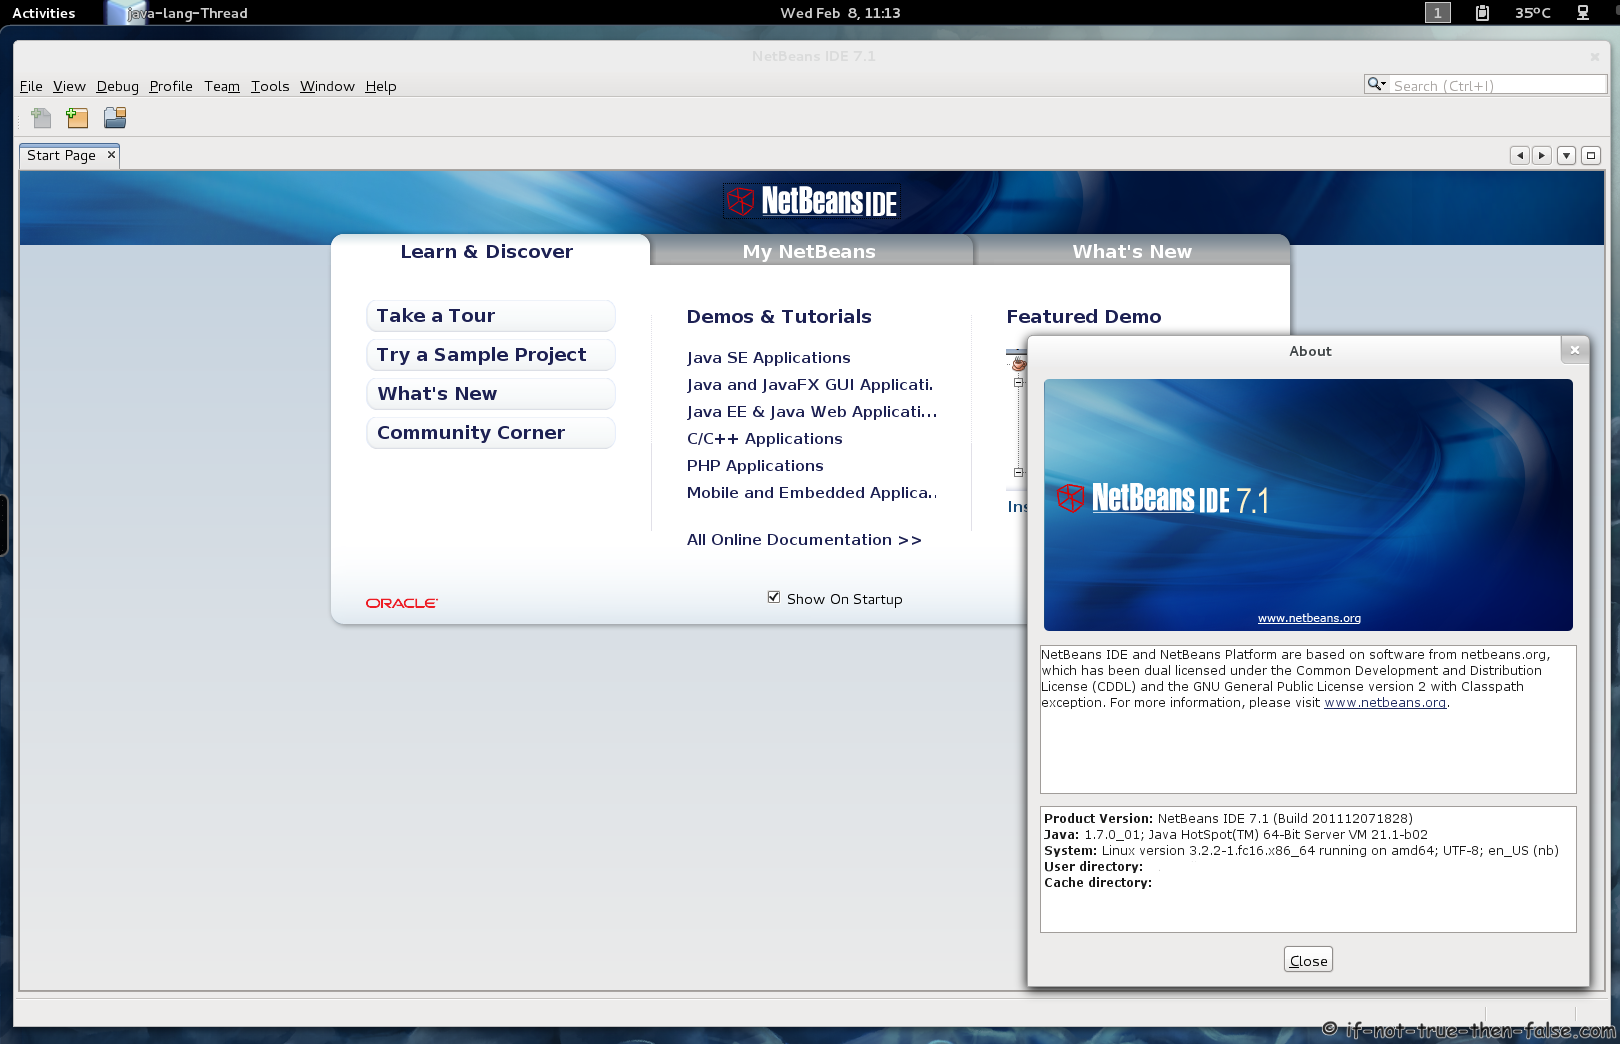
NetBeans 7.1 IDE running on Fedora 16

How To Install XAMPP On Windows [Step By Step Guide]

Installing XAMPP

XAMPP is available for multiple platforms, including Windows, Linux, Solaris and Mac OSX. First you will have to download the one for your needs, and install it.
1. Download XAMPP
In this guide, we are installing XAMPP 1.7.3 (latest version) on Windows. This version consists of the following components:
Apache 2.2.14 (IPv6 enabled) + OpenSSL 0.9.8l
MySQL 5.1.41 + PBXT engine
PHP 5.3.1
phpMyAdmin 3.2.4
Perl 5.10.1
FileZilla FTP Server 0.9.33
Mercury Mail Transport System 4.72
2. Download the EXE file and then simple double click on it to start the installation. By default XAMPP is installed to C:\. Leave the destination folder as it is, and click ‘Install’. This will install XAMPP to a folder named ‘xampp’ in your root drive (C:).

install-xampp-wordpress-local-pc

3. It may take quite a while (~ 10 minutes) for XAMPP to extract the package.

4. After the contents are extracted, the set up script will run automatically. A series of questions are asked, the first one being ‘Should I add shortcuts to the startmenu/desktop?’.
Enter y and hit Enter.

install-xampp-add-desktop-shortcut

5. In the next step, you are asked to locate XAMPP paths correctly. Press y for ‘Should I proceed?’.

install-xampp-locate-paths-correctly

6. In the next step, you can choose to install portable version of XAMPP on a USB drive. However, you will not be able to use services with a portable installation.
Enter n and and press Enter if you like to go ahead with the normal installation.

install-xampp-portable-usb-drive

7. The setup will now relocate XAMPP to the correct path if required. Once you see the ‘XAMPP is ready to use’ message, hit Enter to continue.

8. Next you will see a message informing the time zone that was set in php.ini file. Again hit Enter to continue.

9. In the last step of the installation, you are given various choices, amongst which the first one is to start the XAMPP control panel. Note that even if you exit the set up at this point by entering x, you can always start the XAMPP control panel either from Start Menu or desktop shortcut.
For now, enter 1 and hit Enter to start XAMPP control panel.

install-xampp-start-conotrol-panel

Starting Apache and MySQL

In XAMPP control panel, click on the Start button for both Apache and MySQL. In case Windows Firewall shows up a security alert, click ‘Allow Access’.

install-xampp-windows-firewall-alert

Now you should the status as ‘Running’ for both. In order to confirm that a web server is currently running on your PC, open http://localhost in your browser. This should bring up the XAMPP splash screen.

xampp-splash-screen

Click on a language of your choice to open XAMPP admin panel.

xampp-admin-panel

If you want to check the status of the XAMPP installation, simply click on ‘Status’ in the left navigation. All the services that are currently activated on your local web server are shown.

install-xampp-status

That’s it. You can now go ahead and install WordPress on XAMPP for your local WordPress theme testing and development activities.

Error's:

1. Most likely it is Skype which must have blocked the port 80.
If you are running skype, then you can easily change its ports. 
Go to Tools -> Advanced -> Connections....
and uncheck the Use Port 80 and 443 option and close skype. Now again try to start Apache. you should be able to do it.

2. Go to your Windows Services (Start > Run > services.msc), see if there is a 'World Wide Publishing' service, right-click it to get the Properties, click 'Stop' if it is running, change it from 'Automatic' to 'Disabled', then click okay.